

The carbon fiber Dizzy Space was a wonderful success. But doesn’t more power always make everything better? That is what we are going to try and do next by changing out the motors with more powerful ones and print some new high power motor mounts to hold them on the dizzy space!
The original pager motors were fine for our test flights. But every gram possible had to be shaved off our plane to make it fly well.
Here is a list of things you will need for the high power motor mounts:
- 19,00KV Tiny Whoop Motors like the ones we found on Amazon
- JST 1.25mm 2 Pin matching connectors like these
- Either some new 45mm counter rotating propellers or remove the existing ones from your old Aeroace motors.
- Our 3D printed motor mounts. You can download them here.

Download: DizzySpace Motor Mount for High Power Motors
1 file(s) 96.21 KB - Some PLA filament. We used Solutech see thru red

We will go over the need and use of each of these items.
The Existing AeroAce Motors
Technology has evolved since the AeroAce was created and that evolution also includes the available pager motors. The original aero ace motors are 6mm coreless pager motors with .8mm diameter shafts. Each motor will swing a 45mm diameter counter rotating propeller at 14,500 rpm. Each motor also draws approximately 390mA. So we want to try and exceed that RPM rating.
The New Motors
After a bit of searching, we found these interesting motors used by the “Tiny Whoop”, a modern-day micro quad):

This motor checks all the boxes we needed. They are even connectorized, which gave us another thought: Why not connectorize the Rx so that we can “swap out” components as needed?
Rx Connectors
To match up with the motor connectors we found these JST 1.25mm 2 Pin matching connectors on Amazon:

New Motor Mounts Needed
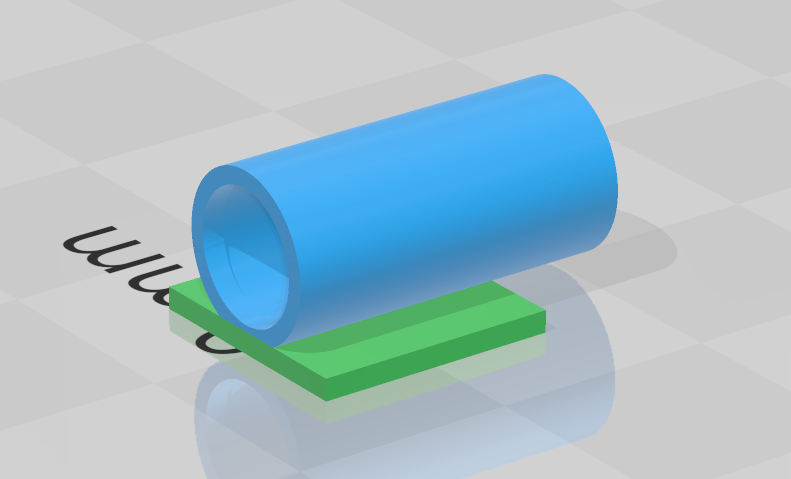
So now all that is needed is to come up with some high power mounts for our motors. We could try and remove the old AeroAce motors, but they are usually glued in. So, this is what we came up with:

This motor mount is designed to closely match that of the existing Aeroace motors. The new motors will slide snugly into the high power motor mounts and come to rest against a built-in thrust ring, preventing it from coming out the other end. We recommend printing these hight power motor mounts at 100% infill. They are exceedingly small so it will not take too long and hardly take any filament.

When placed next to each other, they look pretty close to the original:

We decided to go with some spare AeroAce propellers we had available rather than remove the existing ones. We also located some potential new propellers, but we will cover these in a future article.

So here is what your full list of components will look like:

Each propeller was first carefully pressed on each motor. Then each motor was installed in each of the mounts and glued.

Each motor was glued in place in the wings. The new matching connector was spliced and soldiered into the Rx wiring.

The direction of each motor was verified and then the heat shrink tubing properly shrunk. Each Rx cable was secured to each motor. The Dizzy Space is ready to go!

New Motor Performance
We were amazed at the increased power the new motors produced. At first launch, it was evident that the Carbon Fiber Dizzy Space with the new motors had way more power! The new high power motor mounts worked great holding each motor firmly in place. Check out your quick video of how the Carbon Fiber Dizzy Space now flies:
We hope you enjoyed this article on using the improved motor mounts and apply them to your Carbon Fiber Dizzy Space. If you have not already done so, please check out our original Carbon Fiber Dizzy Space article. Stay tuned for our future article on how to increase the Carbon Fiber Dizzy Space’s power even further.